

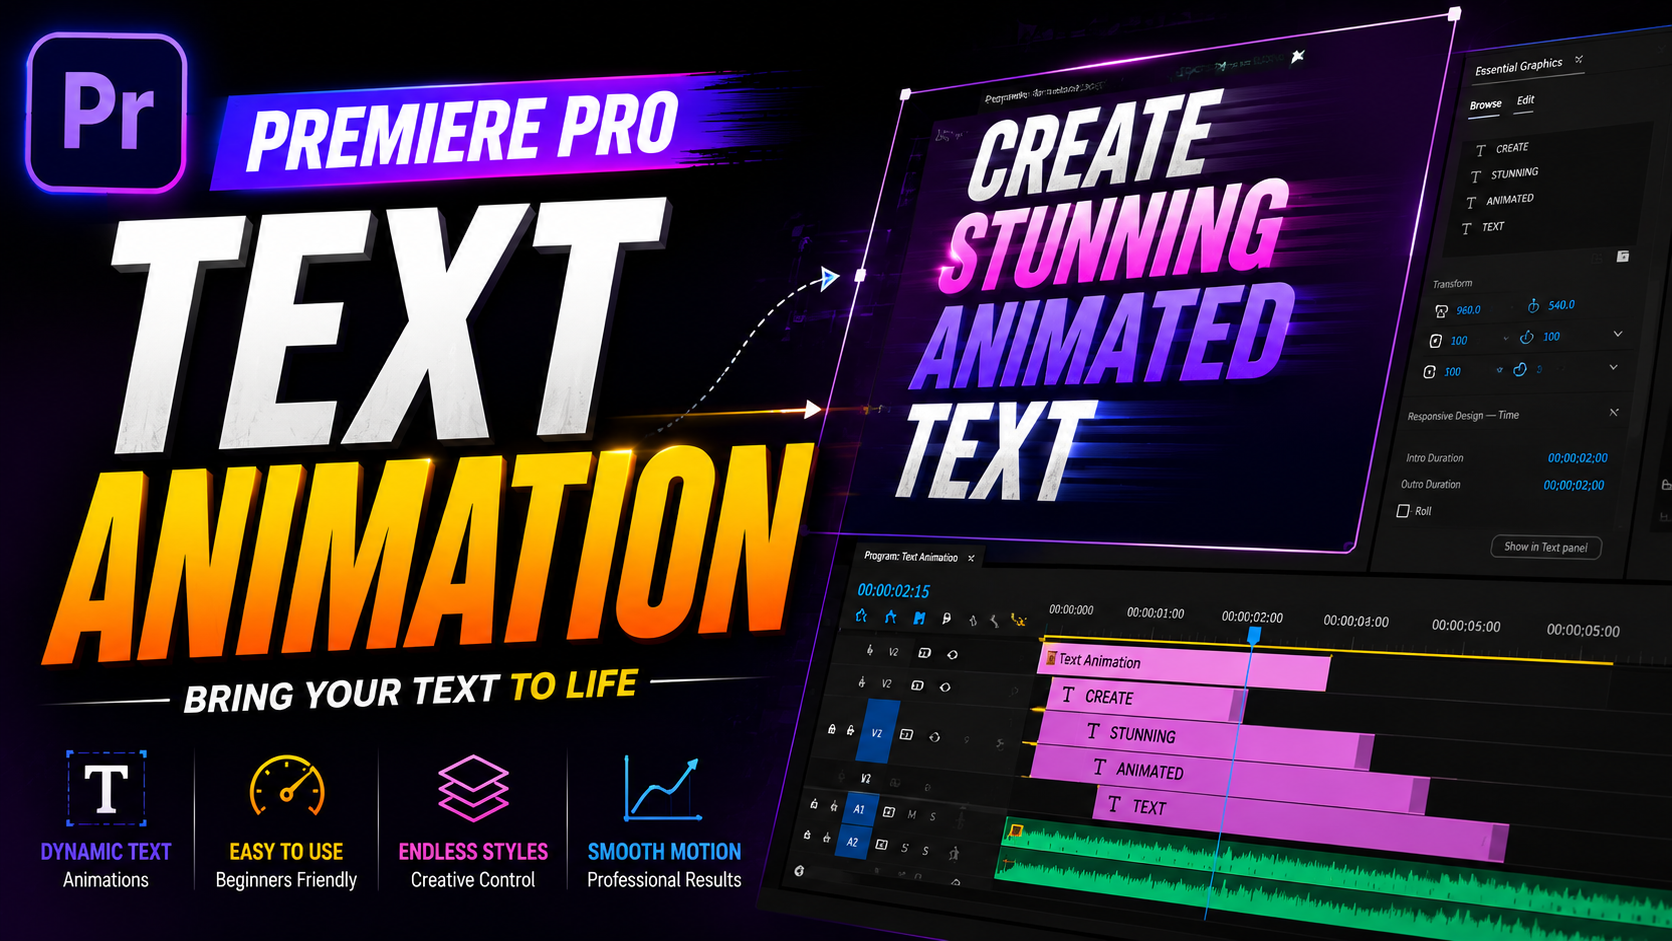

Premiere Pro Text Animation in 2026:
Premiere pro text animation: If you’ve searched for a Premiere Pro text animation tutorial recently and followed instructions telling you to open the Essential Graphics panel, you may have hit a wall, because that panel doesn’t exist anymore in current versions of the software. Adobe removed it, replacing it with a new Properties panel and a separate Graphics Templates panel, which changes the exact steps for animating text even though the underlying keyframe logic hasn’t changed.
This guide covers the current, up-to-date way to animate text in Premiere Pro, from simple fades to more dynamic kinetic typography, plus how 2026’s new animation presets have made basic title movement noticeably faster to build.
What Changed: Essential Graphics Panel Is Gone
Starting with version 25.0, Adobe officially removed the Essential Graphics panel from Premiere Pro. In its place, text and graphics editing now happens through two separate panels:
Properties panel — handles text styling, positioning, and font selection
Graphics Templates panel — handles browsing and applying Motion Graphics templates (MOGRTs)
If you’re on an older, legacy version of Premiere Pro, you may still see the original Essential Graphics panel, but any current installation will use this new split workflow instead. Keep this in mind if you’re following an older tutorial that references a panel you can’t find.
How to Add and Animate Text in Premiere Pro (Current Workflow):
Step 1: Add Your Text
Select the Type tool (T) and click on your video frame to create a text layer, then type your content directly onto the timeline.
Step 2: Style the Text in the Properties Panel
Open Window > Properties to adjust font, size, color, and alignment. You can search Adobe Fonts directly from this panel without leaving Premiere.
Step 3: Switch to Effect Controls for Animation
While the Properties panel handles styling, animation itself still happens in the Effect Controls panel, the same place used for keyframing video clips. Select your text layer, then open Effect Controls to access Position, Scale, Opacity, and Rotation.
Step 4: Enable Keyframes on the Property You Want to Animate
Click the stopwatch icon next to a property, like Opacity, to enable keyframing. Move the playhead, change the value, and Premiere automatically generates a new keyframe reflecting that change.
Step 5: Preview and Adjust Timing
Scrub through your text clip to check the animation’s pacing. Adjust keyframe spacing if the movement feels too fast, too slow, or oddly timed against your footage.
Common Text Animation Styles and How to Build Them
Fade In and Fade Out:
The simplest and most widely used text animation. Keyframe Opacity from 0% to 100% at the start of the clip, then reverse it near the end for a clean fade-out.
Slide-In Text:
Keyframe the Position property, starting the text off-screen and animating it to its final resting position, often paired with easing for a smoother, less mechanical motion.
Scale/Pop-In Text:
Animate the Scale property from a smaller starting value up to 100%, sometimes slightly overshooting and settling back, to create a punchy, attention-grabbing entrance.
Kinetic Typography:
This style animates individual words or phrases in rhythm with audio, often built by animating each text layer’s Position, Scale, or Opacity individually and timing them precisely against a voiceover or music beat.
Faster Text Animation With Premiere Pro’s 2026 Preset Library:
Premiere Pro 26.0 introduced a significant expansion to its built-in effects and animation presets, adding more than 90 new modern effects and transitions through Adobe’s acquisition of Film Impact. While many of these are aimed at clip transitions, the update also made animating titles and graphics considerably faster by letting editors apply motion presets, like pop, grow, wiggle, or added depth and shadow, directly by dragging them onto a text layer, without manually building keyframes from scratch for common movements.
This doesn’t replace manual keyframing entirely, and complex kinetic typography still benefits from hands-on keyframe control, but for straightforward entrances and exits, these presets cut out a meaningful amount of repetitive setup work.
Using Motion Graphics Templates (MOGRTs) for Reusable Text Animation:
If you frequently reuse the same animated title style across multiple projects, saving it as a Motion Graphics Template avoids rebuilding it from scratch each time.
Creating a MOGRT:
Right-click your animated text layer in the timeline and select “Export As Motion Graphics Template,” then name and save it.
Applying a Saved MOGRT:
Open the Graphics Templates panel, find your saved template, and drag it directly onto a new project’s timeline, where you can adjust the text content and colors while keeping the underlying animation intact.
Frequently Asked Questions:
Where did the Essential Graphics panel go in Premiere Pro? Adobe removed it starting in version 25.0, replacing its functions with the Properties panel for text styling and the Graphics Templates panel for browsing MOGRTs.
How do I animate text in Premiere Pro now? Style your text in the Properties panel, then switch to Effect Controls to enable keyframes on properties like Opacity, Position, or Scale, the same keyframe workflow used for animating video clips.
How do I make text fade in and out in Premiere Pro? Select your text clip, open Effect Controls, and keyframe the Opacity property from 0% to 100% at the start, then reverse the animation near the end of the clip.
Do Premiere Pro’s 2026 animation presets replace manual keyframing? Not entirely. The new preset library, added in version 26.0, speeds up common animations like pop-ins and grow effects, but more complex or custom text animation still relies on manual keyframe control.
Can I reuse an animated text style across multiple projects? Yes. Exporting your animated text layer as a Motion Graphics Template lets you drag and drop the same animation into future projects while still being able to edit the text content.
Here download free Premiere Pro Templates: Premiere Pro Text Template Downloads
Final Thoughts:
If your last Premiere Pro text animation tutorial feels outdated, it’s not you, Adobe genuinely changed the panel structure, and a lot of older guides haven’t caught up. The good news is that the underlying keyframe logic behind text animation hasn’t changed at all, and the 2026 preset library actually makes common animations faster to build than before.
Open a new text layer in your current project, try keyframing a simple fade or slide-in using the Properties and Effect Controls panels, and once you’re happy with it, save it as a Motion Graphics Template so you’re not rebuilding it from scratch next time.
Watch full video editing course: Video Editing Tutorials


Leave a Reply