
Introduction:
Open CapCut for the first time and drop a clip onto that long horizontal bar at the bottom of the screen, and it’s easy to feel a little lost. Where do you trim? How do you add music without it overlapping weirdly with your voiceover? Why does everything keep snapping into place when you don’t want it to?
If you’ve asked any of these questions, you’re not alone. The CapCut timeline is the control center of your entire video — every cut, transition, sound effect, and caption lives there. Once you understand how it actually works, editing stops feeling like guesswork and starts feeling like muscle memory.
This guide breaks down the CapCut timeline piece by piece, based on hands-on editing experience, so you can move through your projects faster and with way less frustration. We’ll also walk through the companion video tutorial for anyone who prefers to watch and follow along in real time.
What Is the CapCut Timeline?
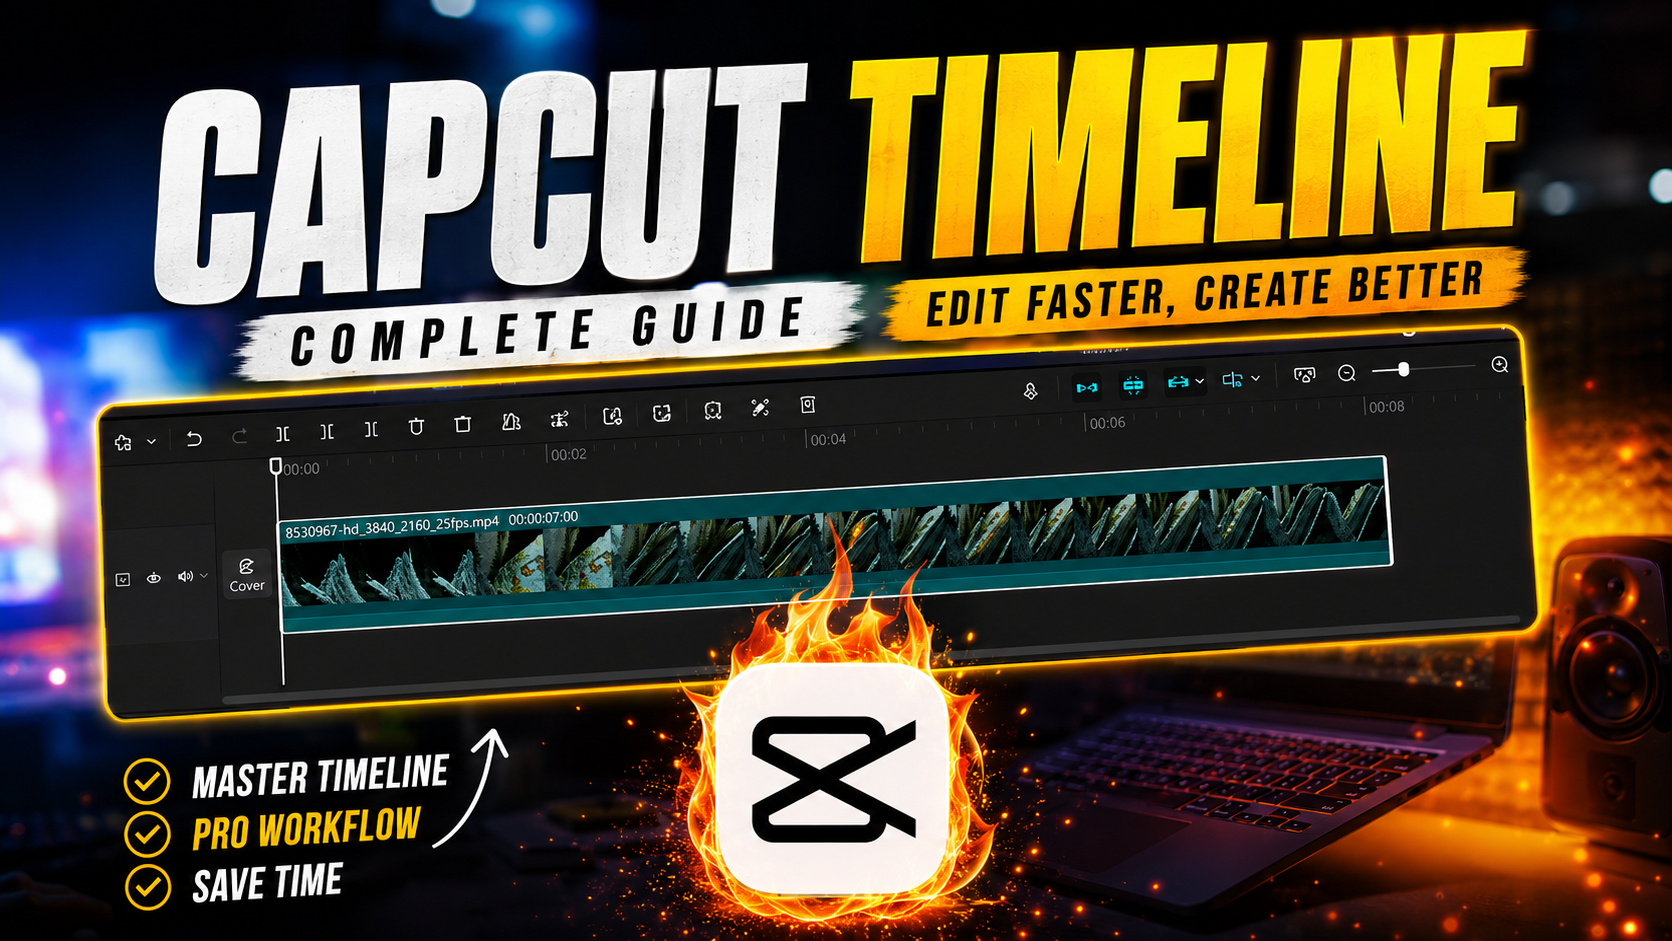
The timeline is the horizontal track system at the bottom of the CapCut editor where all your media gets arranged in sequence. Think of it as a visual timeline of your video, left to right, from the first frame to the last.
Every element you add — video clips, photos, audio tracks, text overlays, stickers, effects — shows up as its own layer on this timeline. The further right something sits, the later it appears in your finished video. Stack things vertically, and they play at the same time, layered over one another.
Once that mental model clicks, the rest of CapCut starts making a lot more sense.
Understanding the Main Timeline Tools:
The Playhead and Scrubbing:
The thin vertical line that moves across the timeline as your video plays is called the playhead. Dragging it left or right lets you “scrub” through your footage to preview specific moments without watching the whole thing from start to finish. This is one of the fastest ways to find the exact frame where you want to make a cut.
Splitting and Trimming Clips:
Tap the split icon (it looks like two brackets facing each other) while the playhead sits over a clip, and CapCut divides that clip into two separate pieces right at that point. This is the foundation of almost every edit — cutting out a bad take, removing dead air, or isolating a moment you want to highlight.
Trimming works a bit differently. Drag the edges of a clip inward to shorten it without splitting it into multiple pieces. It’s the quicker option when you just need to shave a second or two off the beginning or end.
Zooming In and Out:
Pinch the timeline (on mobile) or use the zoom slider (on desktop) to zoom in for frame-by-frame precision or zoom out to see your whole project at a glance. New editors often skip this and end up making sloppy cuts because they can’t see clearly enough — zooming in before a precise edit makes a noticeable difference in accuracy.
Working With Multiple Tracks:
Adding Layers Above Your Main Video:
Anything placed above your primary video track — text, stickers, overlays, a second video clip — appears layered on top of your footage in the final export. This is how picture-in-picture effects, captions, and watermarks all work.
Syncing Audio With Video:
Audio tracks sit on their own row, separate from video. Dragging an audio clip left or right adjusts exactly when it starts playing relative to your footage. This makes it simple to time a sound effect to a specific action or line up background music so it builds right as a key moment hits.
Locking Tracks to Avoid Accidental Edits:
If a project gets layer-heavy, locking a track (tap the lock icon next to it) prevents you from accidentally moving or trimming it while working on something else. It’s a small feature, but it saves a lot of redone work.
Transitions, Speed, and Keyframes on the Timeline:
Small icons between clips on the timeline let you add transitions — fades, slides, zooms — right at the cut point. Tapping that icon opens a transition library where you can preview options before committing.
Speed adjustments work directly on the clip itself: select it, find the speed control, and drag to slow down or speed up that section. The clip visually stretches or shrinks on the timeline to reflect the new duration, which is a handy visual cue for how much runtime you’re adding or removing.
Keyframes — used for animating zooms, pans, or movement over time — also live on the timeline as small diamond markers. Setting one at the start and end of a clip with different values (like zoom level) creates smooth motion between them automatically.
Common Timeline Mistakes (And How to Fix Them):
A few issues come up constantly for newer editors:
- Clips snapping to the wrong spot: Snapping is helpful for alignment but can be turned off in settings if it’s getting in your way during fine adjustments.
- Accidentally deleting gaps instead of closing them: Right-click (or long-press) a gap between clips for an option to close it cleanly without disturbing surrounding footage.
- Losing track of layers: Rename tracks or color-code them where CapCut allows it, especially in projects with more than four or five layers.
- Audio drifting out of sync: This usually happens after trimming video without adjusting the matching audio clip — always double-check sync after any cut.
Frequently Asked Questions:
What is the timeline in CapCut used for? The timeline is where you arrange and edit all the elements of your video — clips, audio, text, and effects — in the order and layering they’ll appear in the final video.
How do I split a clip on the CapCut timeline? Move the playhead to the exact point you want to cut, then tap the split tool. The clip becomes two separate pieces that can be edited, moved, or deleted independently.
Why won’t my clips snap together properly? This is usually a snapping setting issue. Check your timeline settings to make sure snapping is enabled, or zoom in further for more precise placement.
Can I have more than one video track on the timeline? Yes. CapCut supports multiple stacked video tracks, which is how effects like picture-in-picture, overlays, and side-by-side comparisons are created.
How do I fix audio that’s out of sync with my video? Trim or drag the audio clip slightly left or right on its track until it lines back up with the corresponding video. Zooming in helps you make this adjustment more precisely.
Final Thoughts:
The CapCut timeline looks intimidating for about five minutes — then it doesn’t. Once you know what each track does, how trimming differs from splitting, and how layering works, editing speeds up dramatically. The tools haven’t changed; your understanding of them has.
If you found this breakdown helpful, the full video tutorial covers all of this hands-on with real footage, so you can follow along step by step. Give it a watch, and drop a comment with any timeline questions that didn’t get covered here — happy to help troubleshoot.


Leave a Reply