

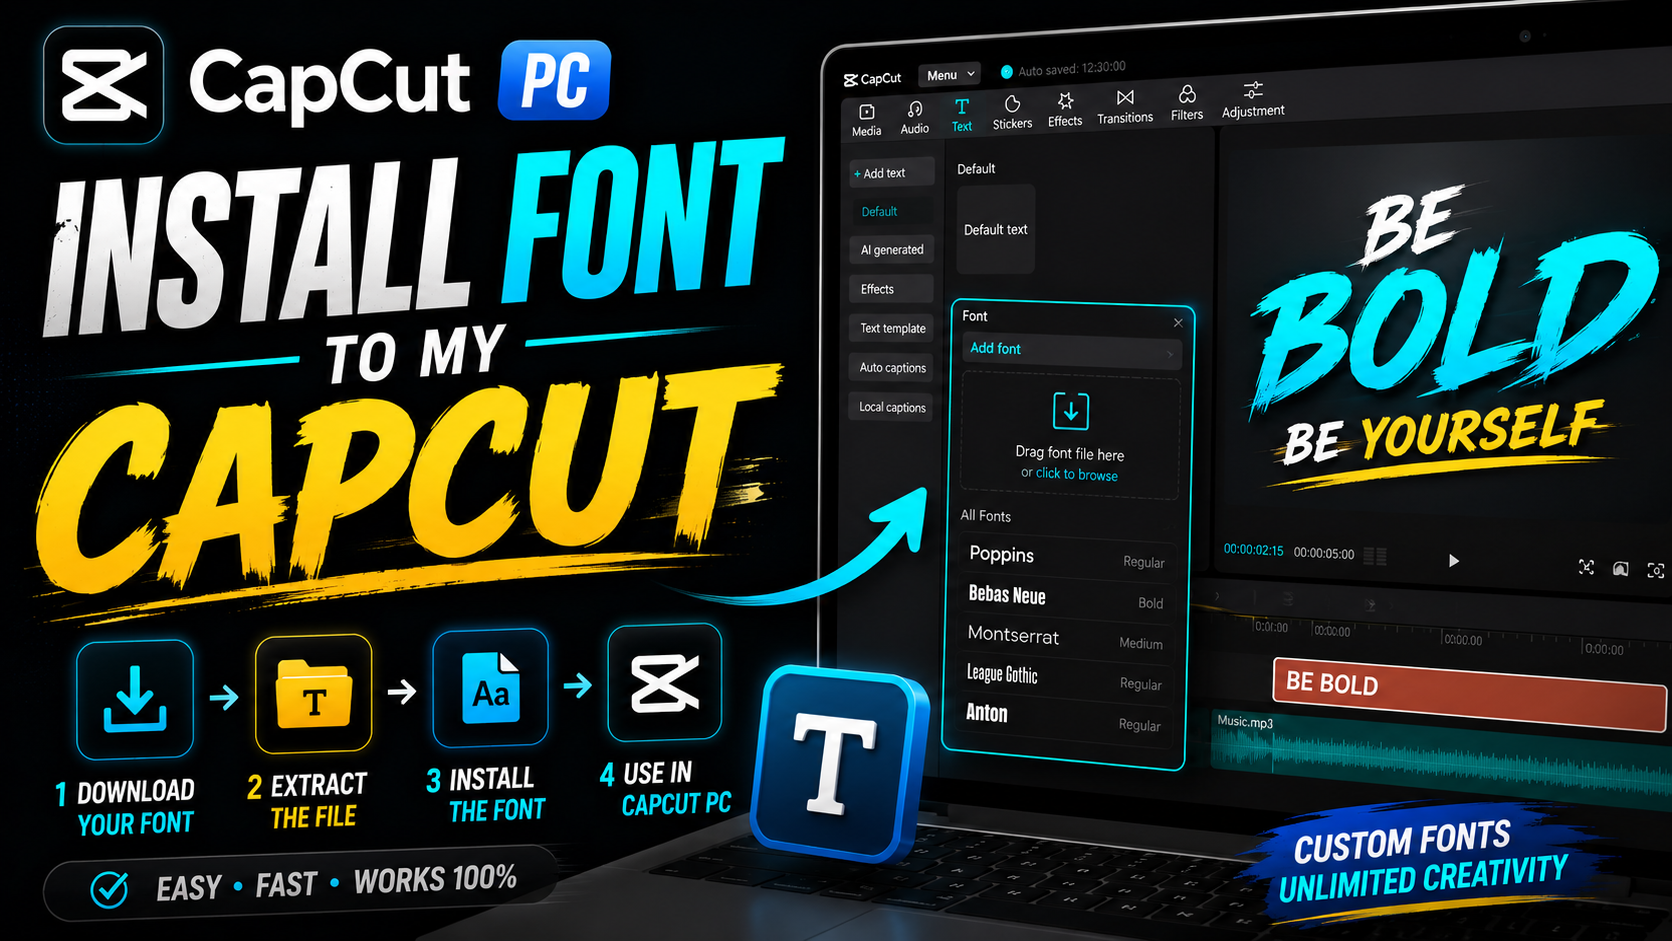

Install Font to My CapCut PC:
You’ve found the perfect font for your project, downloaded the file, and now you’re staring at CapCut on your PC wondering why it’s not showing up anywhere. If you searched “install font to my CapCut PC” hoping for a quick fix, you’re in the right place — this is one of the most common snags people hit when trying to personalize their video text, and the fix is usually simpler than it seems once you understand how CapCut actually detects fonts on Windows.
This guide walks through exactly how to install font to my CapCut PC setup, step by step, along with the most common reasons it doesn’t work the first time and how to fix each one.
Before You Start: What File Format Do You Need?
CapCut on PC reads fonts the same way most Windows software does, by pulling from fonts installed at the system level, plus newer versions that support direct in-app import. Either way, the file format matters.
Supported Font Formats:
CapCut works most reliably with TTF (TrueType Font) and OTF (OpenType Font) files. If the font you downloaded comes in a different format, like WOFF, it won’t install correctly until it’s converted.
Where to Find Fonts:
Free font resources like Google Fonts and DaFont offer a huge selection of TTF and OTF files, covering everything from clean sans-serifs to bold display fonts and handwritten scripts.
Method 1: Install Font to My CapCut PC at the System Level
This is the more traditional way to install font to my CapCut PC, and it works reliably across all recent CapCut PC versions.
Step 1: Download the Font File
Save the TTF or OTF file to a folder you’ll remember, like your Downloads folder.
Step 2: Install It on Windows
Right-click the downloaded font file and select “Install.” Windows will add it to your system fonts automatically. If the file is inside a ZIP folder, extract it first before installing.
Step 3: Restart CapCut Completely
This step trips people up constantly. Installing a font while CapCut is already open usually won’t work, since the app only scans for available system fonts on launch. Fully close CapCut, not just the current project, then reopen it.
Step 4: Locate the Font Inside CapCut
Open your project, click the Text tab, and drag a text box onto your timeline. In the font drop-down menu on the right panel, scroll down to the “System Fonts” section. Your newly installed font should now appear there.
Method 2: Direct In-App Font Import (Newer CapCut Versions)
Some recent CapCut PC updates added a faster option that skips the full system installation step.
Step 1: Open the Font Drop-Down
Inside the text editing panel, click the font selector.
Step 2: Select “Import Font”
Look for an import or “+” option within the drop-down menu.
Step 3: Choose Your File
Select the TTF or OTF file directly from wherever you saved it. CapCut will add it to your available fonts for that project without needing a full Windows installation.
This method is faster for one-off projects, though installing at the system level (Method 1) tends to make the font available across all future projects more reliably.
Fixing the Most Common CapCut PC Font Errors:
The Font Isn’t Showing Up At All:
This almost always comes down to one of two things: an unsupported file format, or CapCut simply hasn’t been restarted since installation. Double-check the file is TTF or OTF, then fully close and reopen the app.
The Font Looks Wrong Once Applied:
Many font downloads include multiple file variants for different weights, like Regular, Bold, and Light, packaged as separate files. If the version you installed looks thinner or heavier than expected, check whether you grabbed the wrong weight from the download folder.
CapCut Freezes or Lags After Installing Several Fonts:
Installing a large batch of new fonts at once can occasionally slow down font-menu loading. If this happens, restart your computer, not just CapCut, to let Windows fully refresh its font cache.
The File Won’t Install on Windows At All:
If right-clicking and selecting “Install” doesn’t do anything, the file may be corrupted or incorrectly packaged. Try re-downloading it from the original source, or use a free font converter tool to re-save it in TTF format before trying again.
Quick Checklist Before You Import
Font file is in TTF or OTF format
File has been fully extracted if it came in a ZIP folder
CapCut has been completely closed and reopened after installation
You’ve selected the correct font weight if multiple variants were included
Frequently Asked Questions:
How do I install font to my CapCut PC app? Download a TTF or OTF font file, right-click it, and select “Install” to add it to Windows. Fully restart CapCut, then find the font under the System Fonts section in the text editing panel.
Why isn’t my installed font appearing in CapCut? This usually happens because CapCut wasn’t fully restarted after installation, or the font file was in an unsupported format. Converting to TTF and restarting the app resolves most cases.
Can I import a font into CapCut PC without installing it on Windows first? Yes, on newer CapCut versions. Click the font drop-down in the text panel, select “Import Font,” and choose the file directly without a full system installation.
What font format does CapCut PC support? TTF and OTF are the most reliable formats. Other formats, like WOFF, typically need to be converted first using a free online font converter.
Do I need to reinstall a font every time I start a new CapCut project? No. Once a font is installed at the system level, it stays available across all future CapCut projects without needing to be reinstalled each time.
Final Thoughts:
To install font to my CapCut PC setup is a quick process once you know the two things that trip most people up: file format and restarting the app after installation. Skip either step, and it can look like the font simply isn’t working, when really it just hasn’t been detected yet.
Try installing one font using the steps above, and check the System Fonts section in your text panel afterward. If it’s still not showing up, run through the troubleshooting checklist above before assuming something’s broken.
Watch Full tutorial Here: Click here
Read more aritcles
Leave a Reply