
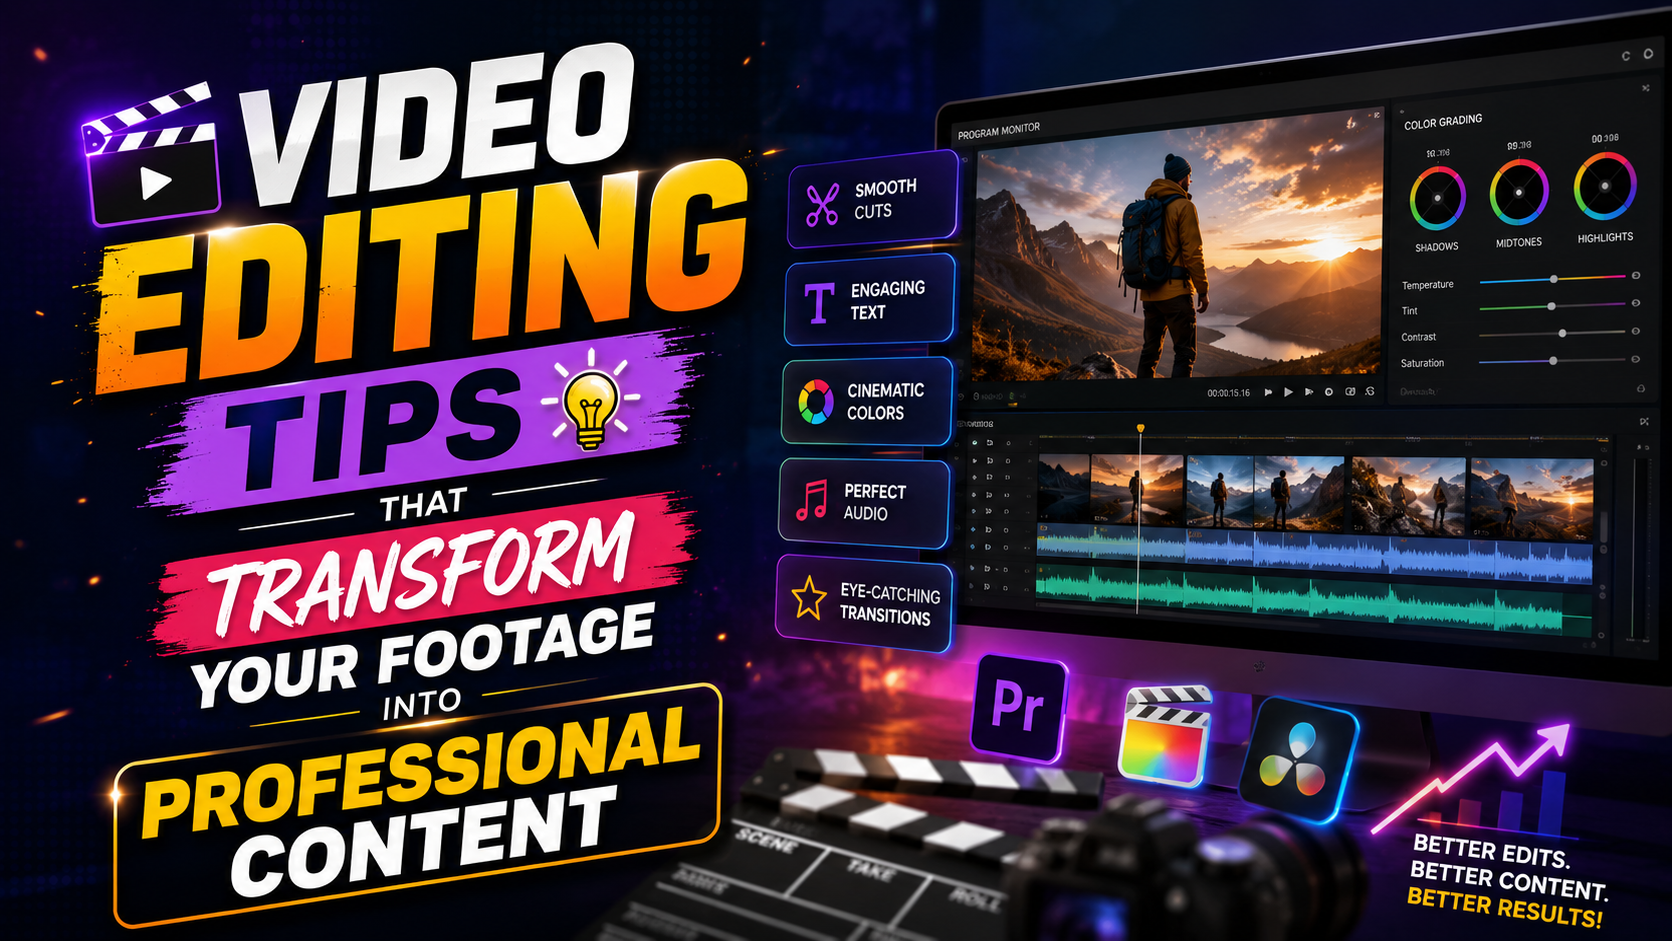
12 Video Editing Tips That Transform Your Footage Into Professional Content
Video editing tips: You’ve spent hours filming. Your footage is solid. But when you open your editing software and start assembling clips, something feels off. The pacing feels slow. The audio jumps between volumes. The colors don’t match. The whole thing looks… amateur.
Here’s the reality: most viewers can’t tell you exactly what’s wrong, but they feel it. They’ll stop watching. They’ll move on.
The difference between footage that keeps people engaged and footage that gets abandoned usually isn’t about better cameras or bigger budgets. It’s about editing technique. Small, deliberate choices—in pacing, sound, color, and transitions—that add up to something that looks professionally produced.
Whether you’re editing YouTube videos, TikToks, wedding highlights, or short films, these video editing tips will help you elevate your craft immediately. Most of them cost nothing and take no special software. Just technique.
1. Organize Your Project Before You Start Editing
This is boring advice, but it’s also the single most important video editing tip that will save you hours of frustration.
Before you touch the timeline, organize your clips:
- Create folders for different types of footage (B-roll, interviews, music, sound effects)
- Rename your files with clear names like “Interview_John_Take2” instead of “Clip_001”
- Color-code your clips if your software allows it
- Scrub through everything once and mark your favorite takes
When you’re in the middle of creative work, hunting for a specific 15-second clip buried in a folder of 200 is soul-crushing. Good organization means you can grab what you need in seconds, keeping your creative momentum alive.
Professional editors spend 20-30% of their time organizing—before editing even begins. This foundational video editing tips habit pays dividends throughout your project.
2. Master the Cut on Action Technique
One of the most essential video editing tips is learning when to cut.
Beginners often cut during pauses or silence. This creates jarring, visible edits that pull viewers out of the moment. Instead, cut during movement—when someone gestures, walks, nods, or turns their head.
Why it works: The viewer’s eye follows the action. While they’re watching movement, they don’t notice the edit point. The cut becomes invisible.
This technique appears in almost every professional film and TV show you’ve ever watched. It’s one of the foundational video editing tips that immediately makes your work look more polished.
Example: Don’t cut when a speaker finishes a sentence and pauses. Cut while they’re turning to face the camera or reaching for something. Same moment in time, but the edit feels seamless.
3. Use J-Cuts and L-Cuts to Smooth Dialogue
These two video editing tips transform how dialogue-heavy scenes feel. They’re simple to execute but incredibly effective.
The J-Cut
The audio from the next clip starts before the video cuts.
You hear someone start speaking just before you see them on screen. This creates anticipation and makes the transition feel natural, like a real conversation flowing between people.
The L-Cut
The video cuts to the next scene, but the audio from the previous clip continues.
You see the new scene, but you still hear the previous speaker for another beat or two. This softens hard cuts and maintains continuity.
Both techniques are incredibly easy to do in any editing software—just drag your audio and video tracks independently so they don’t sync up perfectly. Professional editors use these almost unconsciously. They’re absolutely worth learning.
4. Fix Your Audio (This Changes Everything)
Viewers will tolerate shaky, poorly lit footage. They won’t tolerate bad audio.
Inconsistent volume, background noise, muffled dialogue—these make people stop watching faster than any visual flaw. Yet this is one of the most overlooked video editing tips, especially among beginners.
Here’s your audio checklist:
Normalize levels: Make sure all your clips are at roughly the same volume so viewers don’t have to adjust their speaker constantly.
Add noise reduction: A 30-second pass with a basic noise reduction filter removes hiss, hum, and room tone that makes footage sound amateur.
Use gentle compression: This evens out the difference between quiet and loud moments in the same speaker’s dialogue, making everything sound more controlled and professional.
Layer in ambient sound: Complete silence between dialogue feels sterile. A subtle bed of ambient sound (room tone, outside air, soft music) fills the void and adds polish.
Check levels on export: Sometimes your final export sounds too quiet or distorted because you didn’t properly set your export audio levels. Always do a final quality check.
This single category of video editing tips—audio—probably matters more than everything visual combined. Invest time here.
5. Color Grade for Mood and Consistency
Color correction fixes technical problems (white balance, exposure). Color grading is the creative step—making your footage feel intentional and cohesive.
Most beginners skip this entirely. But even basic color grading transforms how professional your work looks.
Start here:
- Correct first, grade second. Fix white balance and exposure issues across all clips so they match technically.
- Pick a consistent look. Decide on a color tone for your entire video:
- Warm and golden (welcoming, nostalgic)
- Cool and moody (dramatic, serious)
- Neutral and clean (professional, modern)
- Apply it consistently. Use the same color grade across all your footage so nothing feels mismatched.
You don’t need expensive LUTs (look-up tables) or premium plugins. DaVinci Resolve’s free version has color wheels and curves that are powerful enough for excellent results. The key is consistency—viewers notice when colors jump around between clips.
6. Match Pacing to Your Content’s Energy
Pacing is one of the most underrated video editing tips because it’s both technical and intuitive.
High-energy montages need short, quick cuts—sometimes just 1-2 seconds per clip. Emotional interviews need longer holds—5-10 seconds per shot, giving viewers time to breathe and absorb.
Mismatched pacing is exhausting. Quick cuts on sad dialogue feel chaotic. Long holds on upbeat B-roll feel sluggish.
Test your pacing: Watch your edit back and ask yourself these questions:
- Does any section feel rushed?
- Are there moments where you’re waiting too long for the next cut?
- Does the rhythm match the mood?
Trust your gut. If something feels off, it probably is. Adjust accordingly.
7. Use Transitions Sparingly and Purposefully
Ten years ago, transitions were flashy—spins, zooms, page-flips, shatters. Today, they read as outdated almost immediately.
Modern professional edits rely overwhelmingly on hard cuts. When a transition is used, it’s subtle—a simple cross-dissolve, a quick wipe, or a motion-based transition that matches the content.
One of the most important video editing tips: The best transition is the one viewers don’t notice.
If your viewer stops and thinks “Oh, that’s a transition,” you’ve probably used the wrong one. Transitions should serve the content, not draw attention to themselves.
Exception: if your video’s style explicitly calls for stylized transitions (like a fast-paced gaming montage or a playful social media clip), go ahead. But as a default rule, simplicity wins.
8. Reframe and Recompose in Post
Even after you’ve filmed, you have editing options to improve composition.
If a shot feels static or poorly framed, use your editing software’s crop and transform tools to reframe on the fly. Move the subject using the rule of thirds—position it off-center along grid lines for a more dynamic feel.
This video editing tips technique is especially useful for:
- Zooming in on details during interviews
- Repositioning subjects for better balance
- Creating subtle movement (a slow zoom-in or pan) during static shots
Most editors don’t think about this in post, but it’s a powerful tool to improve footage you can’t reshoot.
9. Keep Text and Captions Clean
If you’re adding on-screen text:
- Use 1-2 fonts maximum across your entire video
- Ensure contrast so text is readable on any background (add a subtle drop shadow or semi-transparent background box)
- Leave text on screen long enough to read—roughly 1 second per 3 words
- Size appropriately for the platform (mobile viewers need bigger text than desktop viewers)
Sloppy typography—inconsistent fonts, tiny text, poor contrast—immediately signals amateurism. Clean typography signals polish.
10. Export With Correct Settings
A beautifully edited video looks terrible if you export it with wrong settings.
YouTube: 1080p (1920×1080) or 4K (3840×2160), 16:9 aspect ratio, H.264 codec
Instagram Reels/TikTok: 1080p, 9:16 aspect ratio (vertical video)
Facebook: 1080p, 1:1 or 16:9, slightly higher bitrate than YouTube
Always double-check the platform’s current specs before exporting—they update regularly. And never use super low bitrate; your video will look compressed and blurry.
FAQ: Your Most Common Video Editing Questions
Q: What’s the best editing software for beginners?
A: Start with DaVinci Resolve (free) or CapCut (free, especially good for mobile). Both offer professional tools without the complexity of Premiere Pro or Final Cut Pro. As you grow, upgrading is easy.
Q: How long does it actually take to edit a video?
A: For beginners, expect 2-4 hours per finished minute of video, depending on complexity. This drops to 30 minutes per minute as you get faster. Professional editors working on complex projects might spend 5-10 hours per minute.
Q: Do I need plugins and paid software to look professional?
A: No. Most of what makes videos look professional is technique—pacing, audio balance, color consistency, cutting on action. You can achieve this in free software.
Q: What’s the #1 mistake beginners make?
A: Ignoring audio or not matching audio levels between clips. This single issue makes amateur videos sound amateur, even if the visual editing is solid.
Q: How can I speed up my editing workflow?
A: Use keyboard shortcuts, organize before you start (see tip #1), build templates for recurring tasks, and create a consistent process. Small optimizations add up.
Start With One Video Editing Tip
You don’t need to apply all of these video editing tips at once. Pick one—maybe “cut on action” or “normalize audio levels”—and focus on it during your next project. Master it, then add another.
Editing is a craft. Small, consistent improvements compound into work that looks genuinely professional. You’ve got the footage. Now you’ve got the tools. Go make something great.
Your turn: Which of these video editing tips resonates most with you? Start there, today. Your next edit will be noticeably better.


Leave a Reply