

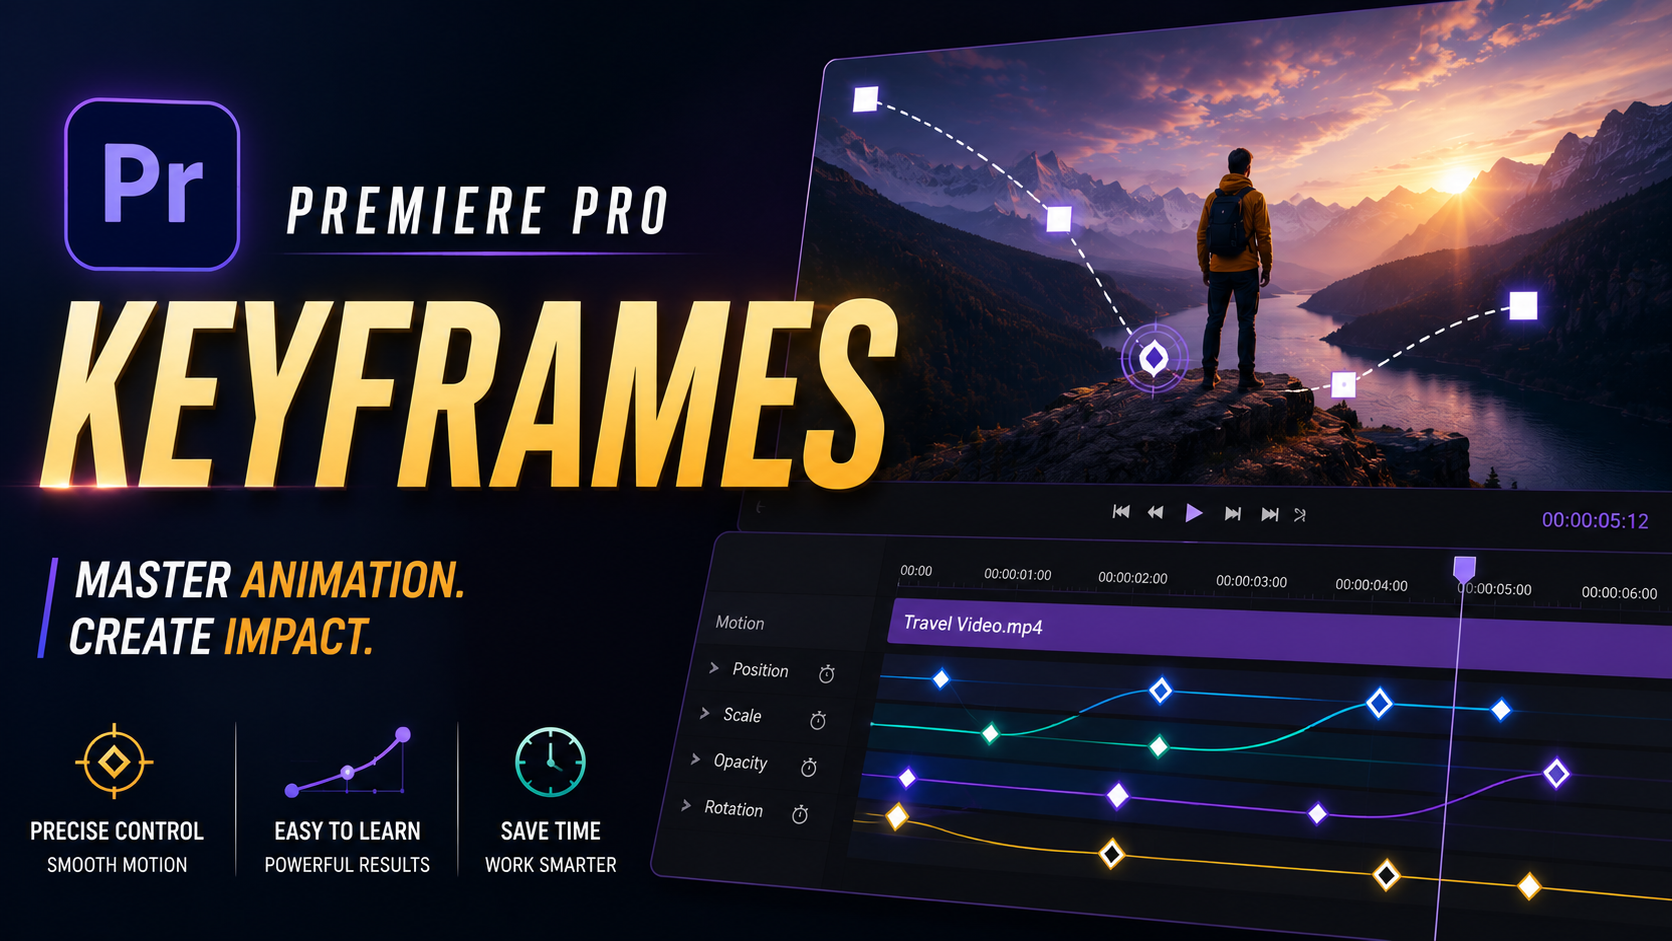

Premiere Pro Keyframes in 2026:
Premiere pro keyframes: There’s a specific moment every video editor recognizes: the clip looks technically fine, the cut lands where it should, but something about it feels flat. Nine times out of ten, that missing piece is movement, and movement in Premiere Pro almost always comes down to keyframes.
This guide covers exactly how Premiere Pro keyframes work, how to animate the properties editors use most, and how 2026’s updates, including AI-assisted masking, have changed how much manual keyframing you actually need to do. Whether you’re animating a simple opacity fade or building a complex motion sequence, you’ll walk away knowing how to do it cleanly.
What Are Premiere Pro Keyframes?
Keyframes are markers that define a specific value for a property, like position, scale, opacity, or volume, at a specific point in time. Set two or more keyframes with different values, and Premiere automatically calculates the animation between them.
For example, setting a keyframe at 0% opacity at the start of a clip and 100% opacity two seconds later creates a smooth fade-in, without you needing to manually adjust the value frame by frame.
How to Add a Keyframe in Premiere Pro:
Step 1: Select Your Clip and Open the Effect Controls Panel
Click your clip on the timeline, then open the Effect Controls panel, where you’ll find properties like Position, Scale, Rotation, and Opacity.
Step 2: Enable Keyframing for a Property
Click the stopwatch icon (Toggle Animation) next to the property you want to animate. This creates your first keyframe at the current playhead position.
Step 3: Move the Playhead and Change the Value
Move the playhead to a different point in the clip, then change the property’s value. Premiere automatically adds a new keyframe at that point, since animation is already enabled.
Step 4: Preview the Animation
Scrub through the timeline to check the movement between keyframes. If it feels too abrupt or too slow, you can adjust timing by dragging the keyframes closer together or further apart.
Common Properties Editors Keyframe Most:
Position and Motion:
Used for pan-and-scan effects on still images, sliding text on and off screen, or repositioning a subject within the frame over time.
Scale:
Commonly used for zoom-in and zoom-out effects, or the classic Ken Burns effect applied to photos in documentary-style edits.
Opacity:
The go-to property for fades, cross-dissolves, and layering elements in and out of a composite shot.
Audio Volume:
Keyframing volume levels lets editors manually fade music in and out or duck it under dialogue, achieving a similar result to automated audio ducking tools, just with more manual control.
Making Keyframe Animations Feel Natural With Easing:
A common beginner mistake is leaving every keyframe on linear interpolation, which creates mechanical, robotic-feeling movement that starts and stops abruptly.
Ease In and Ease Out:
Right-clicking a keyframe gives you options like “Ease In” and “Ease Out,” which smooth out the acceleration and deceleration of the animation, making movement feel more natural.
Using the Bezier Curve Editor:
For finer control, switching a keyframe to Bezier interpolation lets you manually shape the speed curve, useful for more deliberate, stylized motion rather than a simple smooth ease.
Copying and Pasting Keyframes:
Rather than rebuilding the same animation from scratch on multiple clips, you can copy keyframes from one clip’s Effect Controls panel and paste them onto another, saving significant time on repetitive edits.
What Changed for Keyframing in Premiere Pro 26.0 (2026):
Adobe’s January 2026 update introduced AI-powered Object Masking, which automatically identifies people and objects in your footage so they can be selected and tracked with a single click. Once an object is isolated this way, effects like color grading, blurring, or stylized looks can be applied directly to that moving subject, without manually keyframing a mask around it frame by frame.
This doesn’t eliminate the need for traditional keyframing, animating position, scale, and opacity for titles, transitions, and stylistic effects still relies on manual keyframes, but it significantly cuts down the tedious portion of tracking a specific subject through a shot, which used to be one of the most time-consuming keyframing tasks in the app.
The same update also redesigned the mask tools with rounded corners and numeric control, and added the ability to feather masks across an entire clip without needing to keyframe that adjustment at every frame.
Troubleshooting Common Keyframe Problems:
Keyframes Resetting Unexpectedly:
Some users on Premiere Pro 26.0 reported the Transform effect’s keyframe interpolation resetting to default when adjusting scale or position values, losing custom easing curves in the process. Adobe addressed this in a subsequent update, so keeping Premiere updated to the latest version helps avoid this specific bug.
Animation Looks Choppy:
This is usually caused by too few keyframes across a long duration, or forgetting to apply easing. Adding an intermediate keyframe partway through the animation often smooths out an awkward transition.
Keyframes Not Appearing on the Timeline:
Double-check that the stopwatch (Toggle Animation) icon is actually enabled for the property. Changing a value without enabling animation first just changes it globally, without generating a keyframe at all.
Frequently Asked Questions:
How do I add a keyframe in Premiere Pro? Select your clip, open the Effect Controls panel, click the stopwatch icon next to the property you want to animate, then move the playhead and change the value to automatically create additional keyframes.
How do I make keyframe animation look smooth instead of robotic? Right-click a keyframe and apply “Ease In” or “Ease Out” to smooth the acceleration and deceleration, or use the Bezier curve editor for more precise control over the motion curve.
Does Premiere Pro’s new AI masking replace the need for keyframes? No. AI-powered Object Masking in Premiere Pro 26.0 significantly reduces manual keyframing for tracking subjects through a shot, but traditional keyframing is still used for titles, transitions, and most stylistic animation.
Why did my keyframe interpolation reset after adjusting a value? This was a known bug in Premiere Pro 26.0 affecting the Transform effect specifically, which Adobe addressed in a later update. Keeping the app updated resolves it.
Can I copy keyframes from one clip to another? Yes. Copying keyframes from one clip’s Effect Controls panel and pasting them onto another clip applies the same animation without rebuilding it manually.
Final Thoughts:
Keyframes remain one of the most fundamental animation tools in Premiere Pro, and understanding how to combine them with easing and interpolation is what separates flat edits from ones that feel intentional and polished. With 2026’s AI masking updates handling more of the repetitive subject-tracking work, editors can spend more of their keyframing time on the creative parts, the transitions, the timing, the small motion details that actually make a video feel finished.
Open your current project, pick a clip that feels a little static, and try animating just one property, position or opacity, with easing applied. Small, intentional movement usually makes a bigger difference than editors expect.
Watch full tutorial: How to Add Keyframes in Premiere Pro | Complete Beginner Animation Guide
Watch full video editing course: Video Editing Tutorials



Leave a Reply