


Audio Ducking Explained: The 2026 Guide to Perfectly Balanced Sound
You’ve probably experienced this without knowing what it’s called: you’re watching a podcast or vlog, someone starts talking, and the background music automatically dips in volume so the voice comes through clearly. Then the music swells back up once they stop. That effect is audio ducking, and it’s one of the simplest ways to make any video or podcast sound noticeably more professional.
In this guide, you’ll learn exactly what audio ducking is, why it matters for creators, how to set it up manually or automatically, and which tools make the process painless — even if you’ve never touched an audio mixer before.
What Is Audio Ducking?
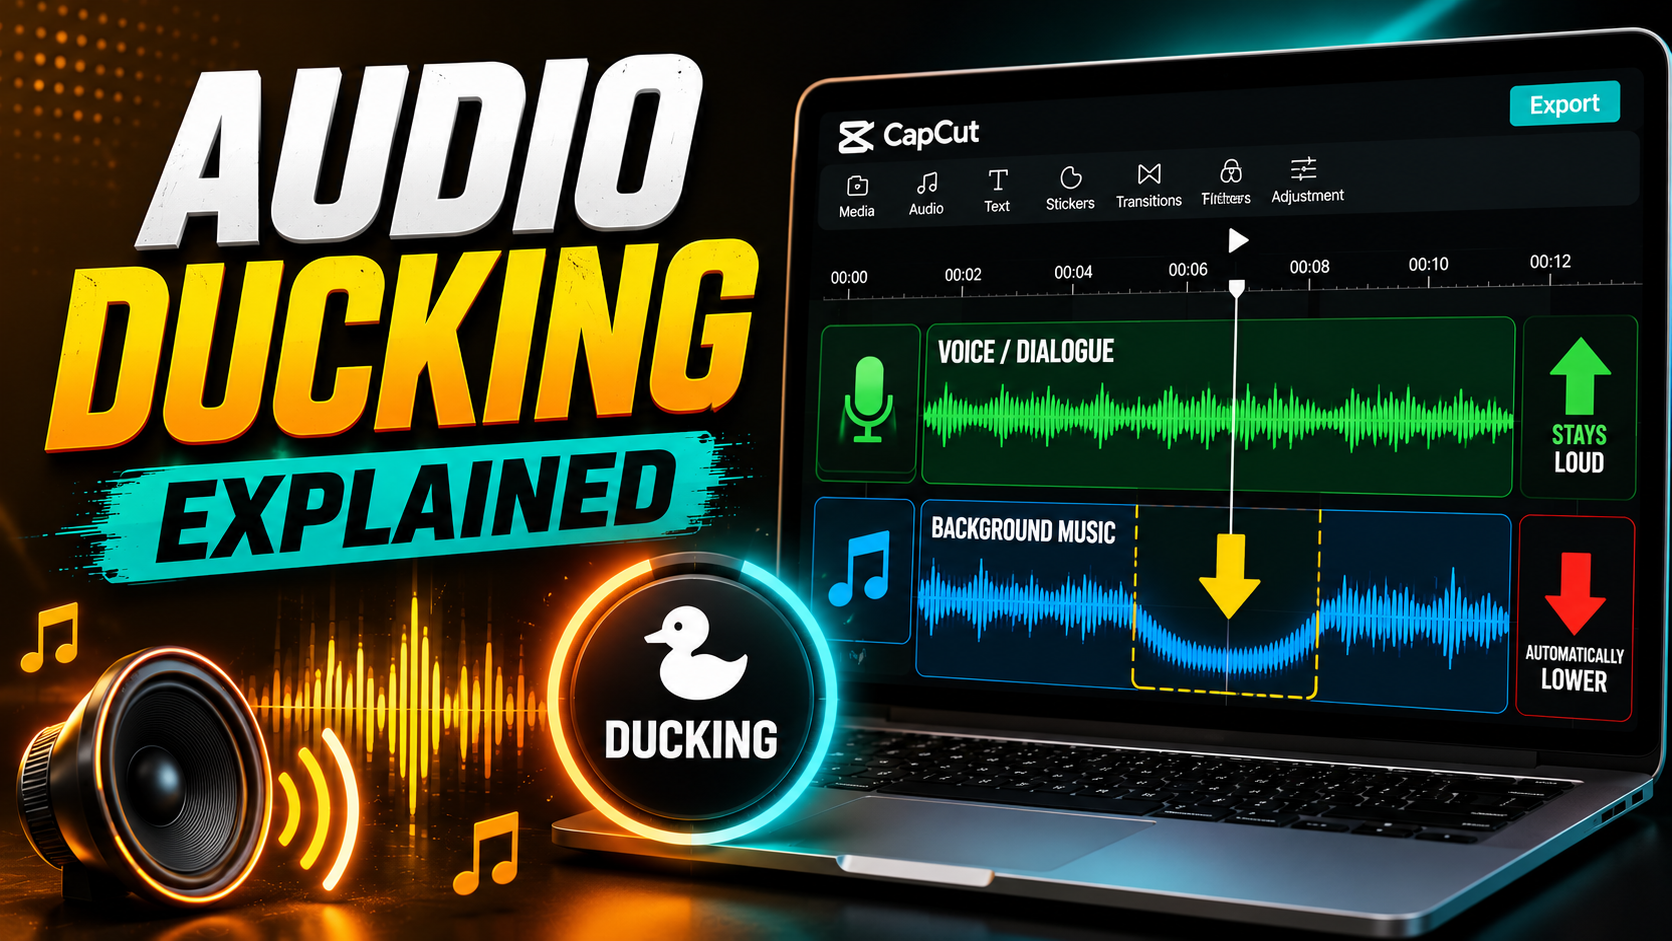
Audio ducking is an audio technique where one sound (usually background music or ambient noise) automatically lowers in volume when another sound (typically dialogue or narration) plays. Once the primary sound stops, the background audio returns to its original level.
The term comes from the idea of the music “ducking down” to make room for the voice. It’s widely used in:
- Podcasts and voiceovers
- YouTube videos and vlogs
- Radio broadcasts
- Live streams and gaming commentary
- Corporate and marketing videos
Without ducking, viewers often struggle to hear dialogue over music, which is a common reason people abandon a video within the first few seconds.
Why Audio Ducking Matters for Creators
Good audio ducking isn’t just a technical nicety — it directly affects how your content is perceived.
It Improves Clarity Without Killing the Mood
Instead of muting music entirely during speech, ducking lowers it just enough that dialogue stays clear while the track still adds atmosphere.
It Saves Editing Time
Manually adjusting volume keyframes every time someone speaks is tedious. Ducking automates that process, especially with auto-ducking features in modern editing software.
It Signals Professional Quality
Viewers may not consciously notice good ducking, but they absolutely notice its absence — awkward volume jumps and buried dialogue make content feel amateurish.
How Audio Ducking Works: Sidechain Ducking Basics
Most auto-ducking tools use a technique called sidechain compression. Here’s the simple version of how it works:
You assign your voice track as the “trigger” (or sidechain input).
You assign your music or background track as the one that gets ducked.
The software constantly monitors the trigger track. When it detects volume above a certain threshold — meaning someone is talking — it automatically reduces the volume of the music track.
Once the trigger track goes quiet, the music gradually returns to full volume.
This process happens in real time and can be fine-tuned using a few key settings, which we’ll break down next.
Key Ducking Settings to Understand
- Threshold: The volume level that needs to be crossed on the trigger track before ducking kicks in.
- Ratio: How much the background track is reduced once ducking activates.
- Attack: How quickly the ducking effect kicks in after speech starts.
- Release: How quickly the music returns to normal volume after speech ends.
Getting these settings right is the difference between a smooth, natural-sounding duck and one that feels jarring or robotic.
Best Tools for Audio Ducking in 2026
You don’t need expensive studio equipment to duck audio well. Here are reliable options across skill levels.
Adobe Premiere Pro
Includes a built-in “Auto Ducking” feature under the Essential Sound panel. You simply tag your dialogue and music clips, and Premiere handles the rest with adjustable sensitivity and duck amount.
DaVinci Resolve
Offers manual sidechain compression through its Fairlight audio page, giving more granular control for users comfortable with mixing consoles.
Descript
Popular with podcasters for its simple, one-click “Studio Sound” and ducking tools that don’t require any audio engineering background.
Audacity
A free, open-source option where ducking can be achieved manually using the Auto Duck effect, ideal for creators on a budget.
CapCut
Includes automatic ducking for short-form video creators, detecting voice tracks and adjusting background music without manual keyframing.
Grab all video editing tutorials here: Video Editing Tutorials
How to Set Up Audio Ducking Step by Step
While exact steps vary by software, the general workflow looks like this:
- Import your voice/dialogue track and your music or background track separately.
- Select the ducking or auto-ducking feature in your editor.
- Assign the voice track as the trigger and the music track as the one to be ducked.
- Adjust threshold, attack, and release settings to match your voice’s natural pacing.
- Preview the result and fine-tune until the transition between full-volume music and ducked music feels smooth, not abrupt.
A good rule of thumb: if you consciously notice the music dropping every time someone talks, your release time is probably too fast or your ratio too aggressive.
Common Mistakes to Avoid
- Setting the threshold too low, causing the music to duck on background noise or breathing.
- Using an instant attack time, which creates an unnatural, sudden drop instead of a smooth transition.
- Forgetting to test with headphones, since ducking issues are often more noticeable on speakers than during editing.
- Over-ducking, where the music drops so low it loses its purpose entirely.
Frequently Asked Questions
What is audio ducking in simple terms? Audio ducking is when background music automatically lowers in volume whenever someone speaks, then returns to normal once they stop, so dialogue stays clear.
Is audio ducking the same as sidechain compression? They’re closely related. Sidechain compression is the technical process most software uses to achieve the ducking effect.
Can I do audio ducking for free? Yes. Audacity offers a free Auto Duck effect, and several free video editors, like CapCut, include automatic ducking for voice tracks.
Does audio ducking work for live streams? Yes, many streaming and broadcast software tools, including OBS with plugins, support real-time ducking so background music automatically lowers when you speak.
Why does my ducked audio sound unnatural? This usually comes down to attack and release settings being too fast or too slow. Slightly slower attack and release times tend to sound more natural than instant transitions.
Final Thoughts
Audio ducking is a small technical detail that makes a massive difference in how polished your content sounds. Whether you’re producing a podcast, a YouTube tutorial, or a live stream, getting your dialogue to sit clearly above your music is one of the fastest ways to level up production quality.
Pick a tool from this list that matches your workflow, experiment with the threshold and release settings, and listen back with headphones before publishing. Once you get the balance right, you’ll wonder how you ever mixed audio without it.
Leave a Reply