Welcome to my blog! Today, I’m happy to present a brand-new tutorial for producing a gorgeous mask effect in Photoshop. Whether you’re a beginner or an experienced pro, this guide will help you through the stages of creating a professional-looking mask effect. In addition, you can watch the whole video on my YouTube channel for a step-by-step visual explanation. Let’s plunge in!
What is the Mask Effect?
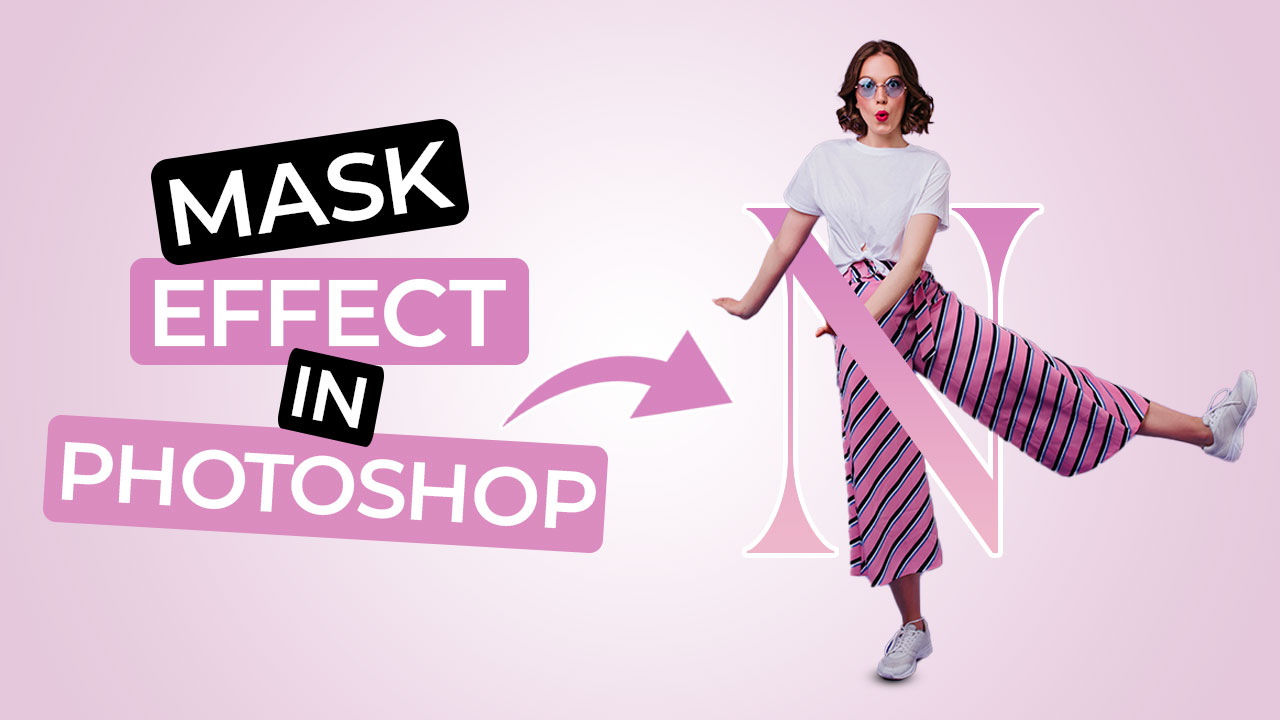
Photoshop’s mask effect enables you to combine layers and create elaborate designs by hiding or displaying portions of an image. This technique is extremely useful in editing pictures, graphic design, and digital art. It allows you to precisely select which sections of your image are exposed, resulting in seamless integration and creative freedom.
Create a stunning mask effect in Photoshop: Open your image, choose a layer, and add a white mask. Use the Brush Tool with black to hide and white to reveal. Adjust size and hardness. Refine with different brushes or ‘Select and Mask’ for precision. Apply adjustments like blending modes for a polished finish.
Watch the tutorial
Check out my YouTube instructional for a more complete, visual tour of this new Photoshop mask effect. I go over all of the processes listed above and provide additional tips and tricks to help you master this method. View the tutorial here.
Conclusion:
Making a mask effect in Photoshop is an excellent method to add depth and creativity to your work. With experience, you’ll be able to utilize this technique to create spectacular photo edits and designs. Don’t forget to subscribe to my YouTube channel for future videos, and visit my website for more information and guides. Happy Photoshopping!